

Do you have any large boxes lying around? Are you bored? Do you have excess amounts of tape? If you answered yes to all the above, then making a tiny house out of cardboard may be a project for you.
Well, snowpocalypse turned into icepocalypse. In case you can’t remember my last blog post, I discussed the many snow days we had and how we were managing to keep busy without killing each other. Last week we had 4 snow/ice days. This week,
Monday was records day (a day for teachers, no students), then Tuesday and Wednesday happened to be another ice day. Let me tell you, I am well rested.
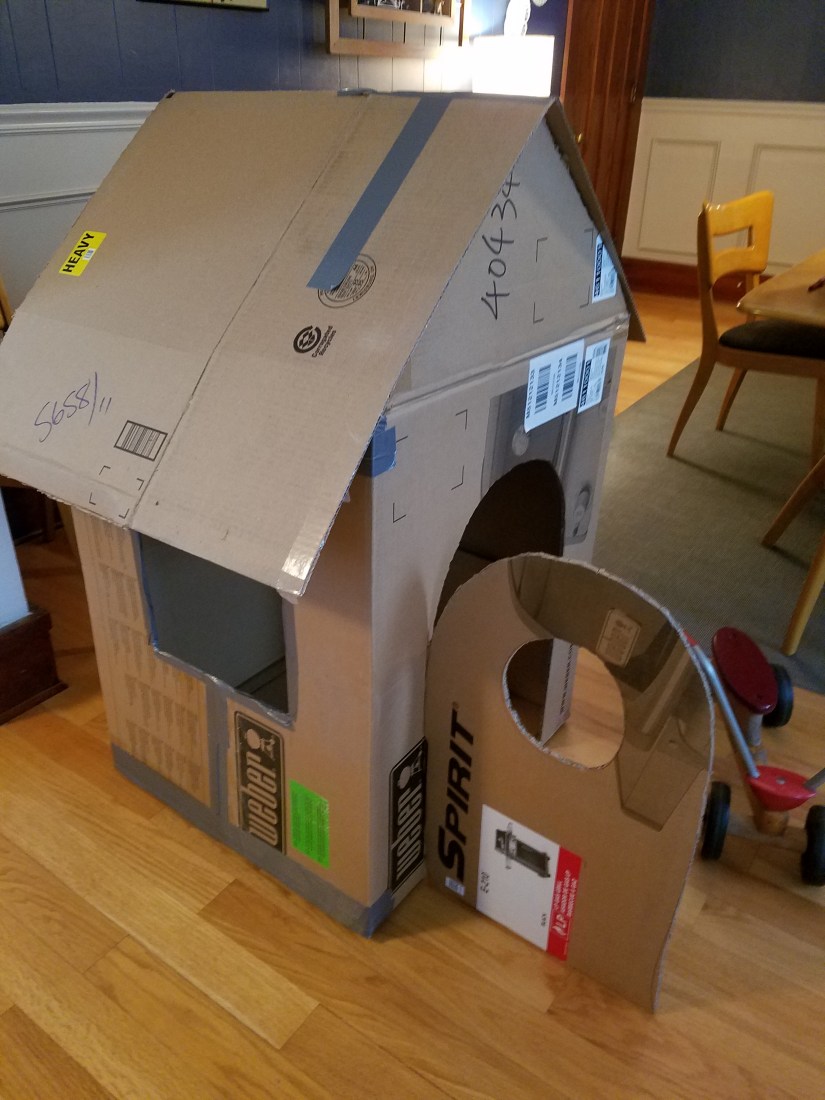
Tuesday is when I got a little bit stir crazy. I saw a time lapsed video of a family making a playhouse out of cardboard, then wrapping it in paper. It was adorable and looked super easy. That’s when an inner voice spoke to me: MUST MAKE TINY HOUSE FOR TINY HUMAN. I quickly ran to the garage and found several large boxes. To begin this project you need; boxes, tape, hot glue, a bread knife.
I grabbed everything and took it inside. Iris looked at me like I was slightly insane, so I handed her some O’s (cheerios) and turned some music on and she happily ran around while I cut her house. I began by cutting a door, reinforcing the seams with tape, cutting the roof diagonals and adding a support beam. I cut a cute hole out of the door and a window. Before long, I had this:
This is when Iris didn’t want to get out of the house… so far so good. Oh, and in case you think you could do this without a bread knife, then get ready to break your hand off cutting with scissors. A bread knife took me seconds. It was great. We keep extra bread knifes for gardening. Once the house was assembled and reinforced with a crap ton of tape, I began wrapping the house with big strips of white paper. Wrapping all those Christmas presents really helped me for this moment. As I wrapped, I put elmer’s glue down and hot glued the edges so the paper wouldn’t come off. Eric ended up running out and buying fancy tape which helped me pick a color scheme… ooooh fancy trim.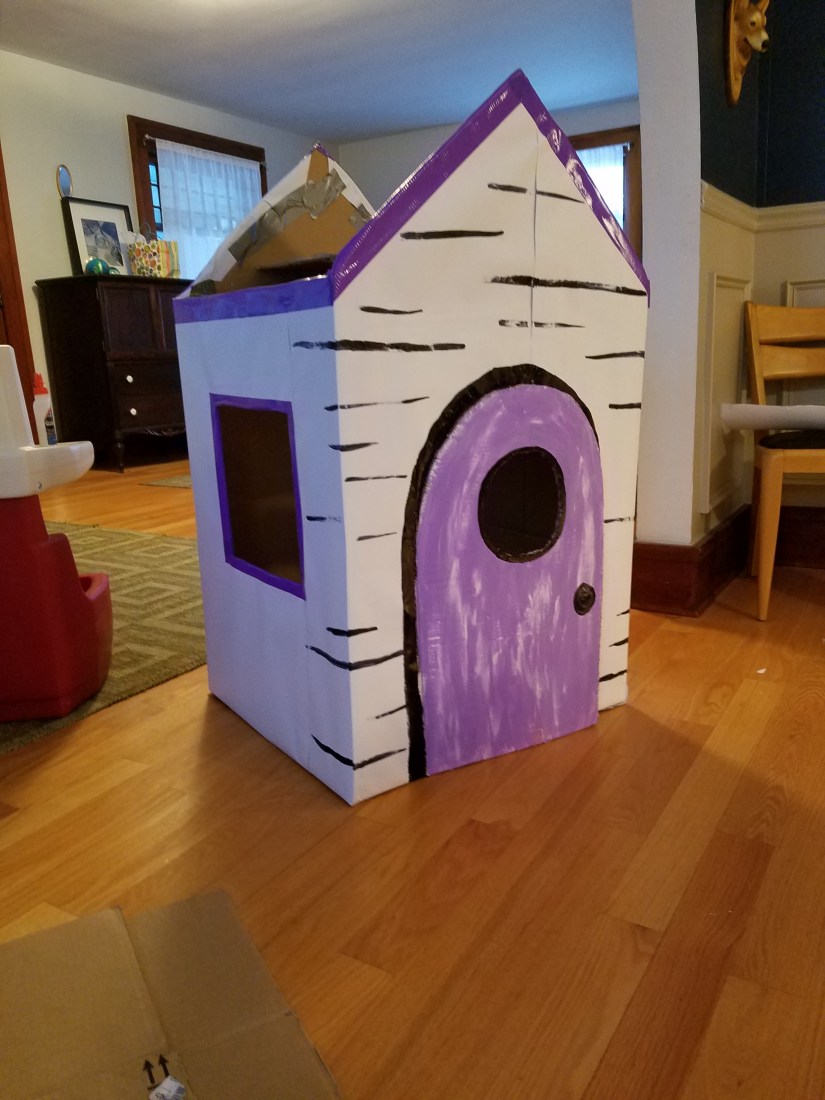
Later, I painted the door, painted the roof, added black trim and added white Christmas lights for some extra pazazz.
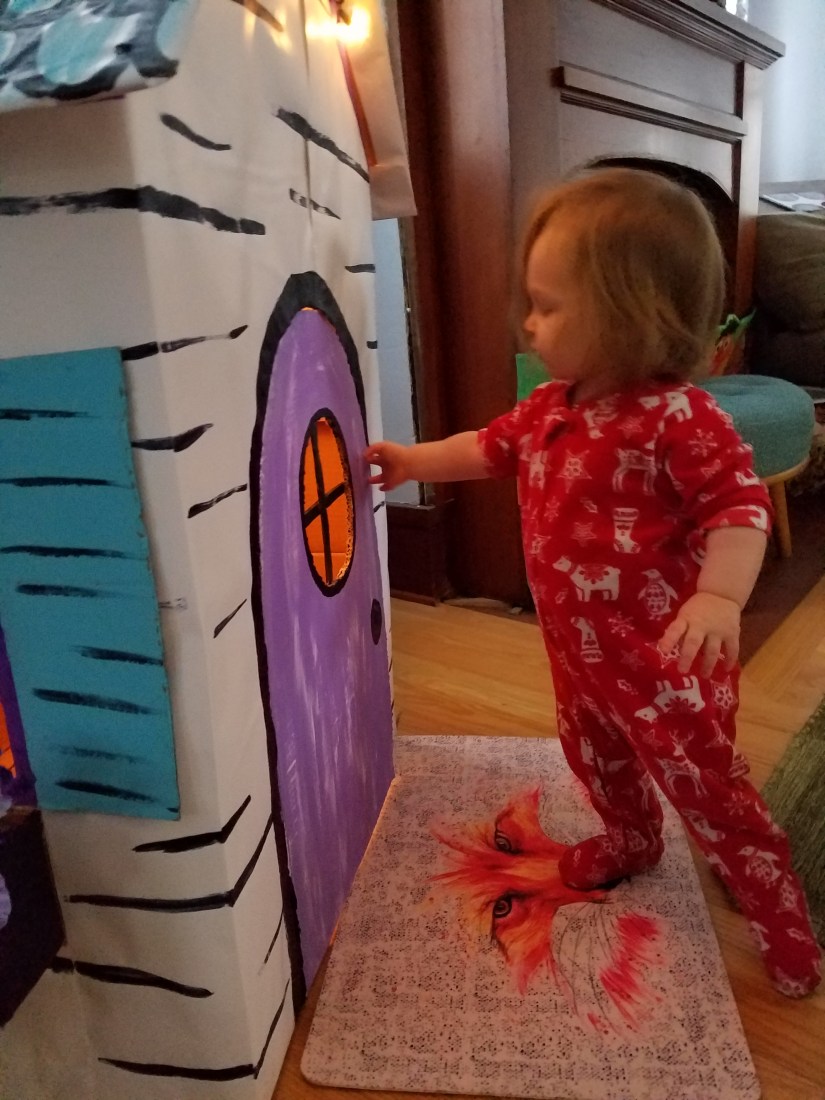
Of course the next day when it was all cute and I had worked forever on it, she wasn’t too interested. Then I showed her how the door worked and she sat in there for a while just opening and closing.
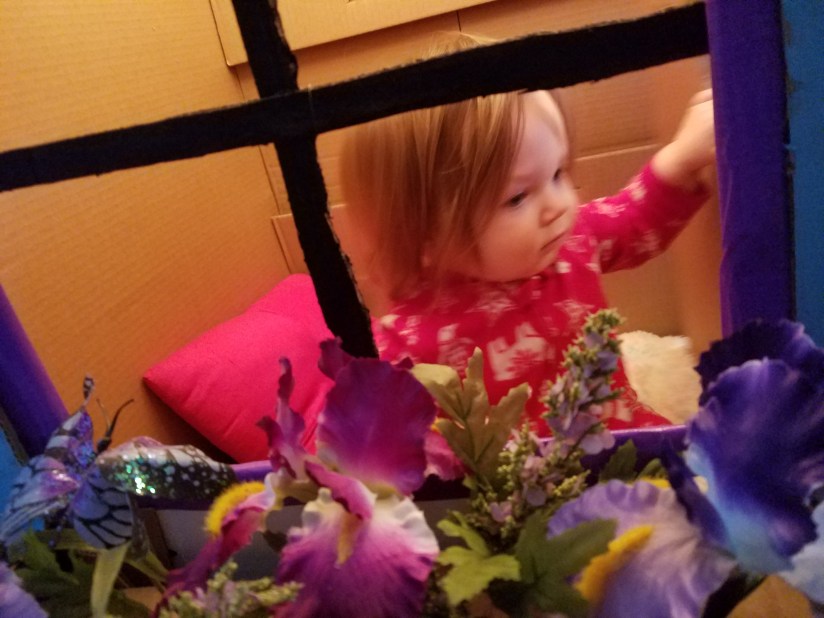
Yes. I added a flower box. FULL OF IRIS’S! Clever girl! I was just going to finish the outside and leave it be… and that’s when I realized I couldn’t stop until the whole thing was pretty. I started wallpapering the insides and I wanted to draw on the paper. Imagine me huddled in this tiny box drawing on the walls. Yeah, it didn’t work out so great. So this was the first attempt. Then I ran back to the store and bought some more fancy tape.
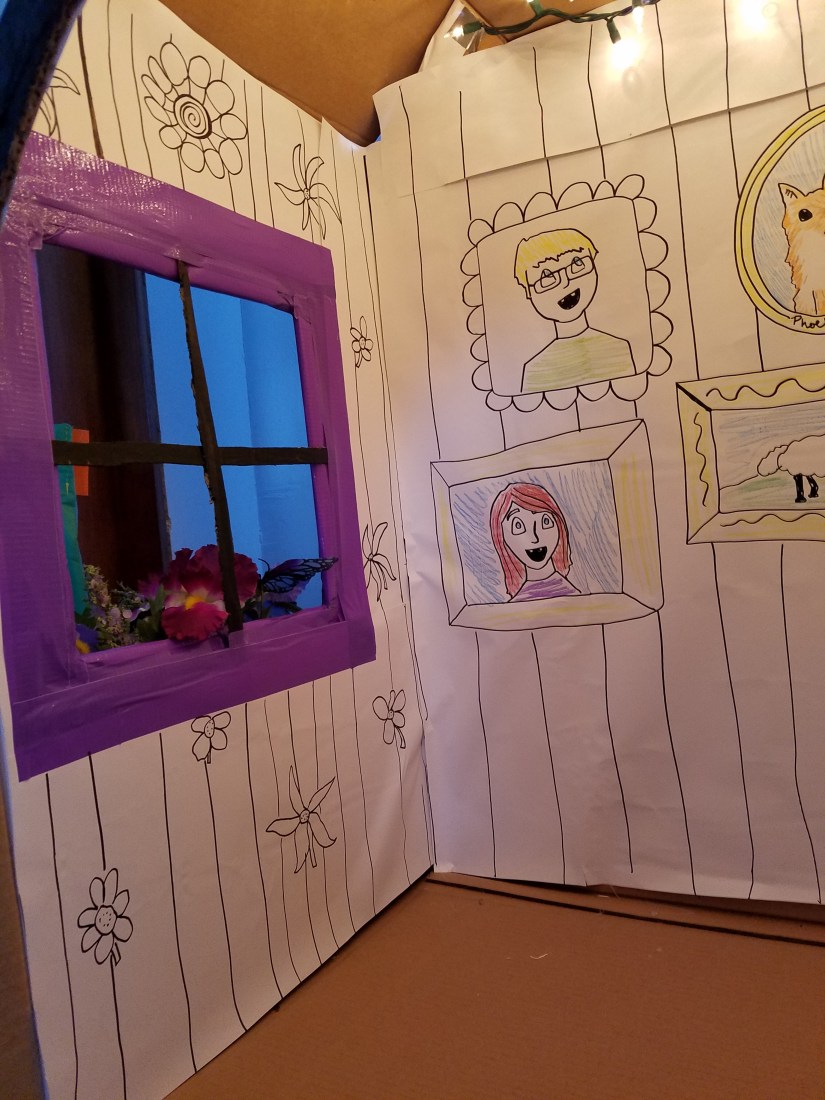
Once I got the inside all taped and cute, I made some pictures to “hang” on the walls, purchased a curtain to make curtains, and then I added a lil’ awning to the outside and a light fixture(which is actually a cupcake tuperware top). I had to add extra curb appeal. And here is the moment you have been waiting for, the big inside/outside reveal;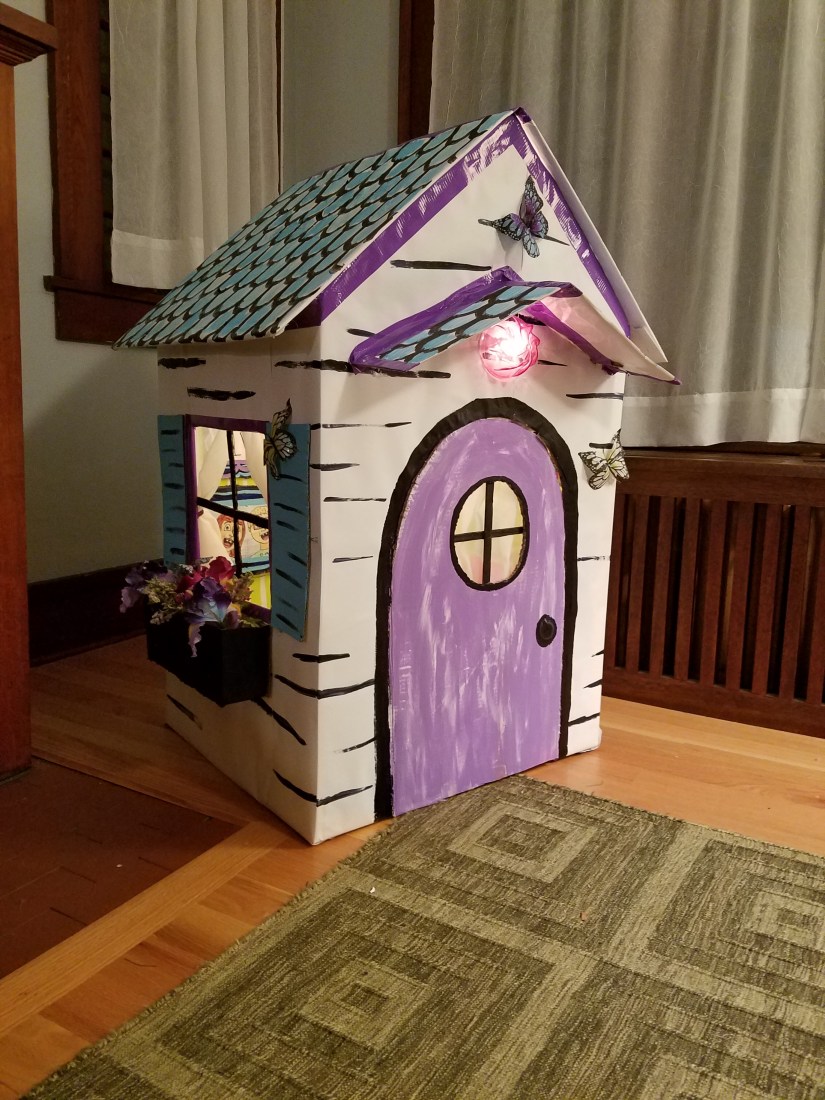
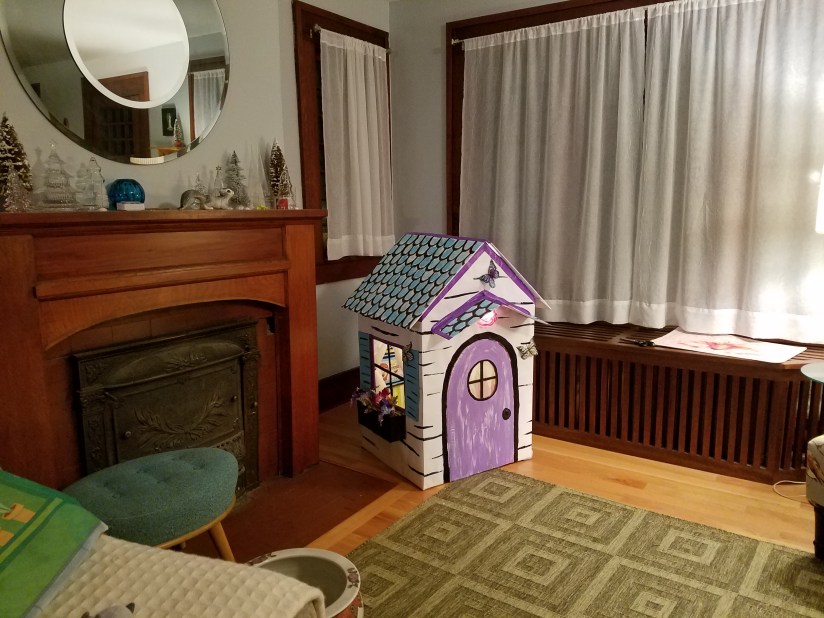
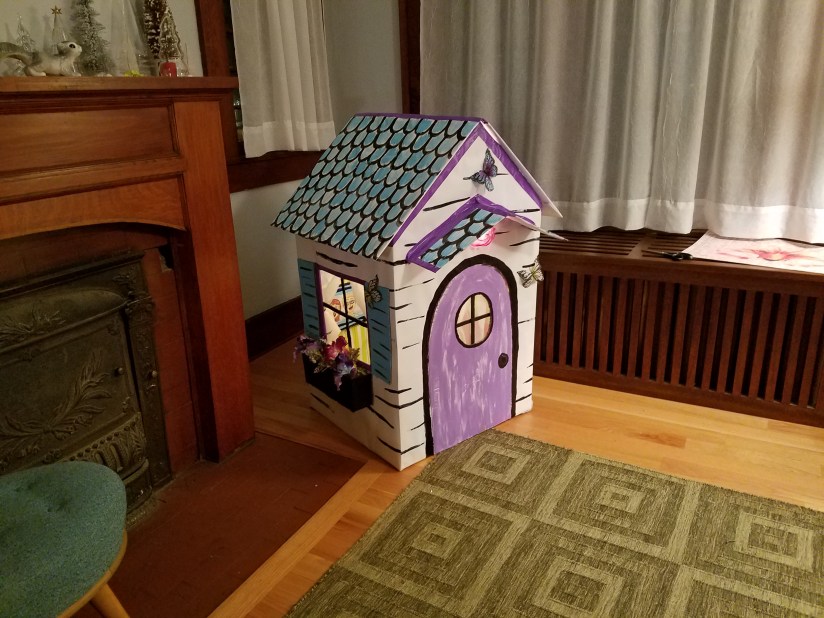
Check out the scale compared to our fireplace.


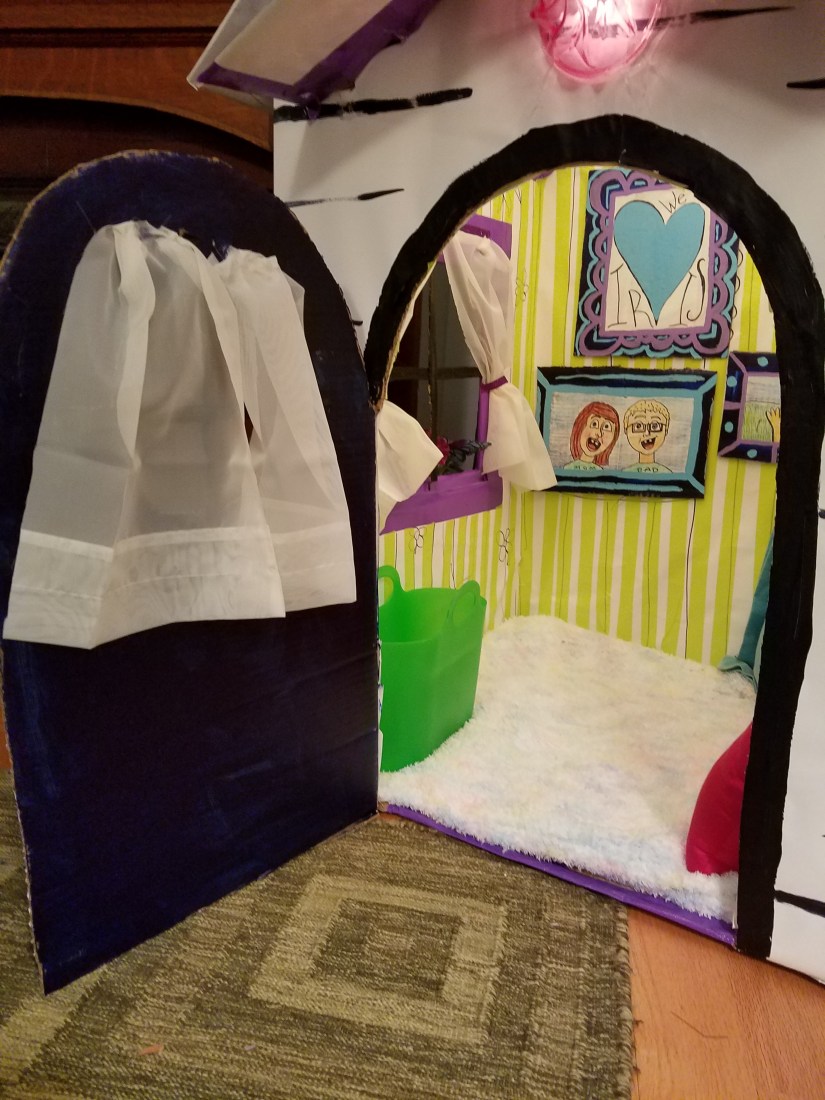
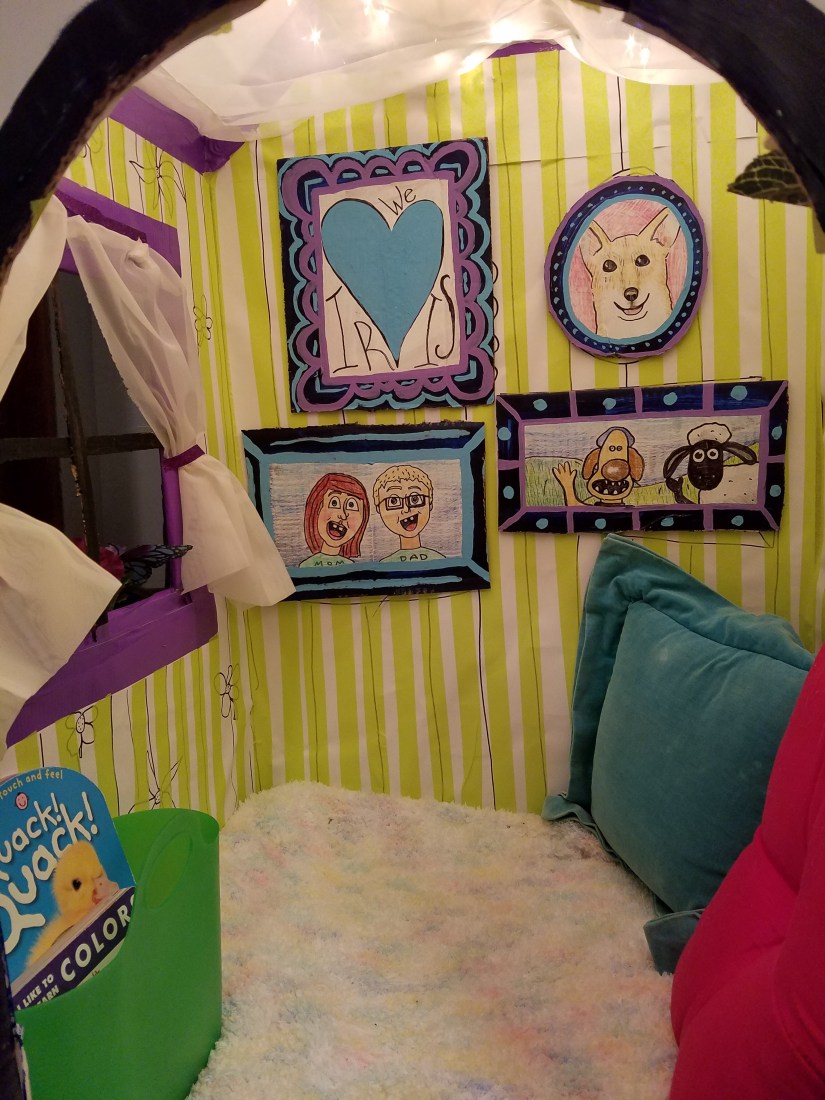
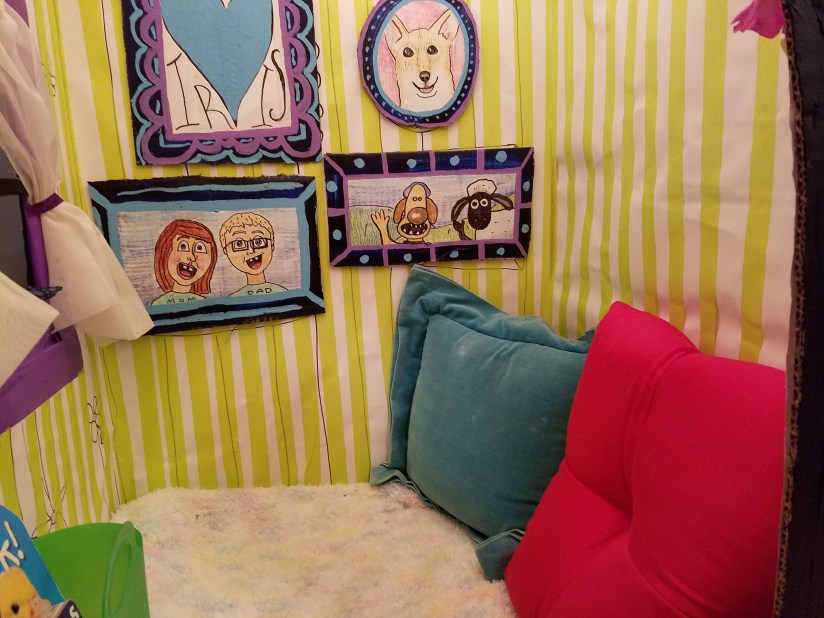
The pictures are of family, Phoebe (our dog), Eric and I, a sign that says “we heart Iris”, and a picture of two characters from Shaun the Sheep- a show that Iris LOVES.

This is intended to be a reading nook… however Iris tends to throw everything out of the house when she goes inside it.
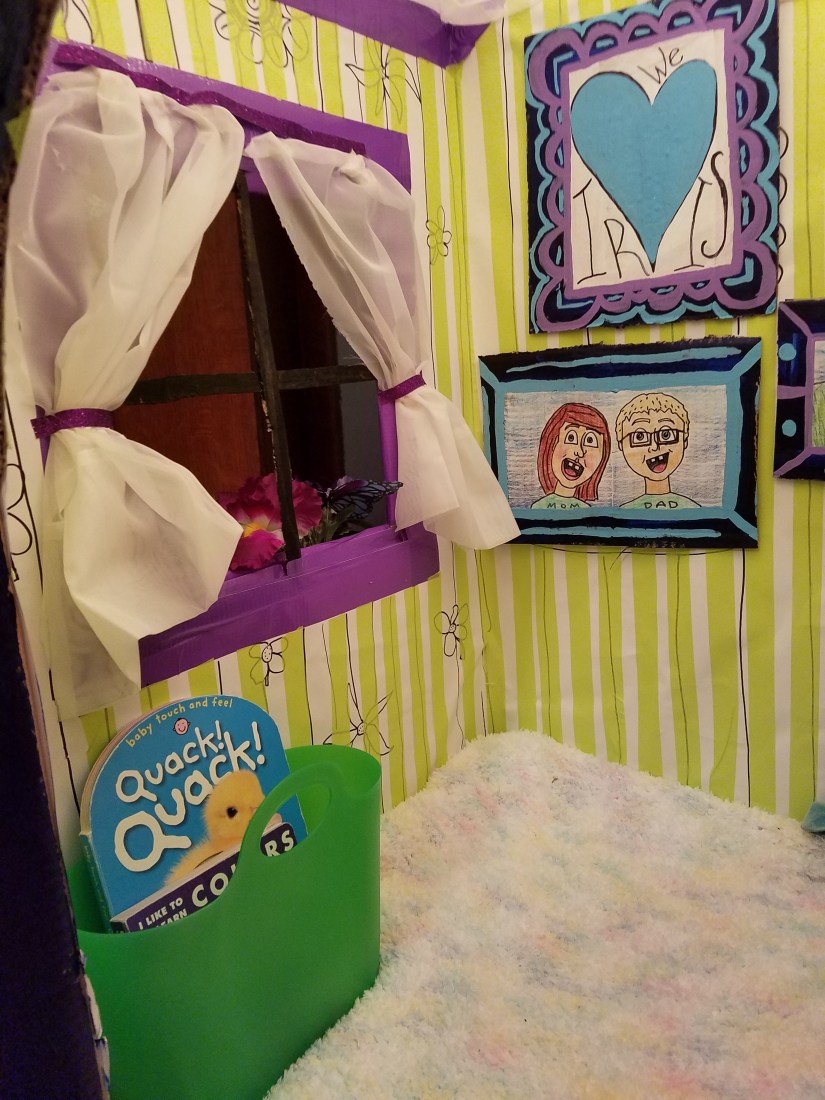
Her little book bin.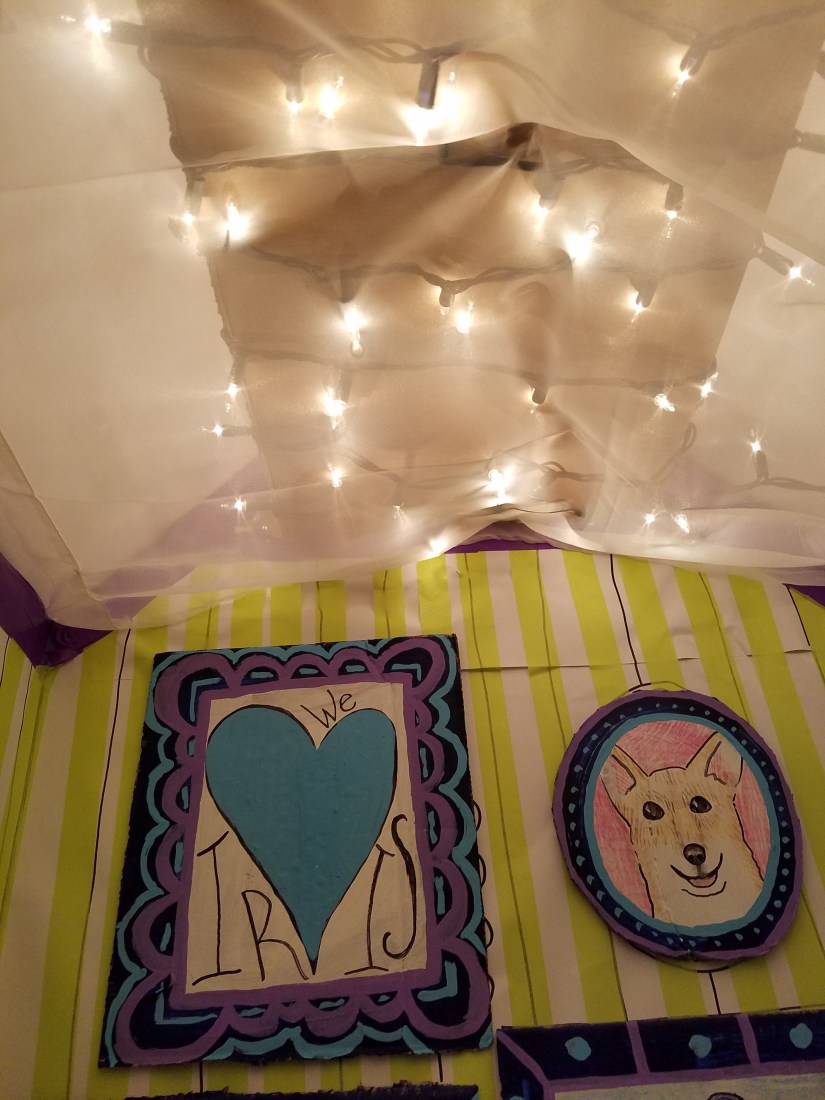
And TADA. I can’t believe my baby already has her first house. Sigh.

You could make a tiny neighborhood. It turned out fantastic!
LikeLike
Thanks! I should start a reality show; Cardboard Fixer Upper!
LikeLike